Avoid the costly mistakes that affect 90% of AC installations. This step-by-step checklist helps Sacramento homeowners prepare for a smooth, stress-free installation.
Share:
Summary:
Before we show up at your door with equipment, you need to understand what makes an AC installation successful in Sacramento’s climate. This isn’t just about picking a unit and having someone bolt it to your house.
Sacramento’s extreme heat puts serious demands on cooling systems. When you’re dealing with 45 days of triple-digit temperatures and heat waves that last a week or more, your AC needs to be sized correctly, installed properly, and set up to handle the workload without breaking down. That means getting the planning phase right matters more than most homeowners realize.
The biggest mistake you can make is assuming all installations are created equal. They’re not. The contractor who takes shortcuts might save you money upfront, but you’ll pay for it later through higher energy bills, frequent repairs, and a system that quits years before it should.
Installation day goes smoother when your home is actually ready for it. This isn’t complicated, but it does require a little preparation on your end.
Start by clearing access to your current system. Move furniture, tools, plants, and anything else blocking the indoor unit or the path to it. Our installation crew needs clear hallways, open doorways, and enough room to maneuver equipment without playing Tetris with your belongings. The outdoor unit location should have at least two to three feet of clearance on all sides for proper airflow.
Make sure your pets are secured somewhere safe and away from the work area. Installation involves loud noises, strangers moving through your home, and open doors, which can stress animals out or create escape opportunities you don’t want to deal with.
Our technicians will need access to your electrical panel, attic or crawlspace, and the outdoor unit location. Check that these areas are accessible before the crew arrives. If your attic access is blocked by storage boxes or your electrical panel is behind a stack of holiday decorations, now’s the time to clear that out.
The ground where your outdoor unit sits should be level. If it’s not, mention this during your consultation so we can plan accordingly. Uneven ground puts unnecessary strain on the unit and can cause problems down the road.
Finally, be available on installation day or designate someone over 18 who can make decisions if questions come up. Things like unexpected ductwork issues or electrical concerns sometimes require on-the-spot choices, and you don’t want installation delayed because nobody could approve a necessary modification.
Here’s where a lot of installations go wrong right from the start: incorrect system sizing. It’s one of the most common and most expensive mistakes in the HVAC industry, and it happens more often than it should.
Many contractors will look at your old system, see it’s a three-ton unit, and recommend replacing it with another three-ton unit. That’s lazy and potentially costly for you. Your home’s cooling needs depend on square footage, insulation quality, window placement, ceiling height, and Sacramento’s specific climate demands. Just because your old system was a certain size doesn’t mean that was the right size to begin with.
An oversized AC system sounds like it would cool better, but it actually creates problems. The unit cycles on and off too frequently, never running long enough to properly dehumidify your home. You end up with a house that feels clammy even though the thermostat says it’s cool. The constant cycling also wears out components faster, leading to more frequent repairs and a shorter lifespan. You’re basically paying more upfront for a system that costs more to operate and dies sooner.
An undersized system has the opposite problem. It runs constantly, struggling to keep up with Sacramento’s heat and never quite reaching your target temperature. Your energy bills stay high because the system never stops working, and the components wear out from the constant strain. On a 110-degree day, an undersized AC simply can’t do the job you need it to do.
The right approach uses something called a Manual J load calculation. This is an industry-standard method that factors in your home’s specific characteristics to determine exactly what size system you need. It considers your home’s square footage, insulation levels, number and type of windows, ceiling height, and even which direction your house faces. For Sacramento County, it also accounts for our climate zone and typical temperature extremes.
A proper load calculation takes time and expertise, which is why some contractors skip it. We don’t let that happen. This step protects your investment and ensures your new system actually works the way it should. If a contractor can’t explain how they determined your system size or just says “same size as your old one,” that’s a red flag worth paying attention to.
Want live answers?
Connect with a Hot & Cold HVAC expert for fast, friendly support.
Understanding what actually happens on installation day helps you know whether your contractor is doing the job right. A professional installation follows a specific process, and knowing what to expect helps you spot corners being cut.
Most installations in Sacramento County take one full day for a standard replacement. If you’re installing AC for the first time or if your project involves significant ductwork modifications or electrical upgrades, it might extend to two days. Mini-split installations tend to be faster, often wrapping up in four to six hours for a single-zone system.
Our installation crew arrives when we say we will, with all the necessary equipment and the correct system for your home. We protect your floors with drop cloths, set up our workspace, and verify that power to your old system is turned off before we start removing it.
Professional installation follows a logical sequence that ensures everything works correctly when we’re done. Here’s what should happen.
First, your old system gets removed properly. This isn’t just about unbolting equipment. The refrigerant needs to be captured and disposed of according to EPA regulations. The old equipment gets broken down for recycling. A salvage company typically handles this, making sure copper and metal components get repurposed rather than ending up in a landfill.
Next comes inspection and preparation. Before installing your new system, we inspect your ductwork for leaks, damage, or sizing issues. We check your electrical setup to make sure it can handle the new system’s requirements. If you need electrical upgrades or duct repairs, this is when those get addressed. Skipping this step is how you end up with a new system that doesn’t perform well because the supporting infrastructure wasn’t up to the task.
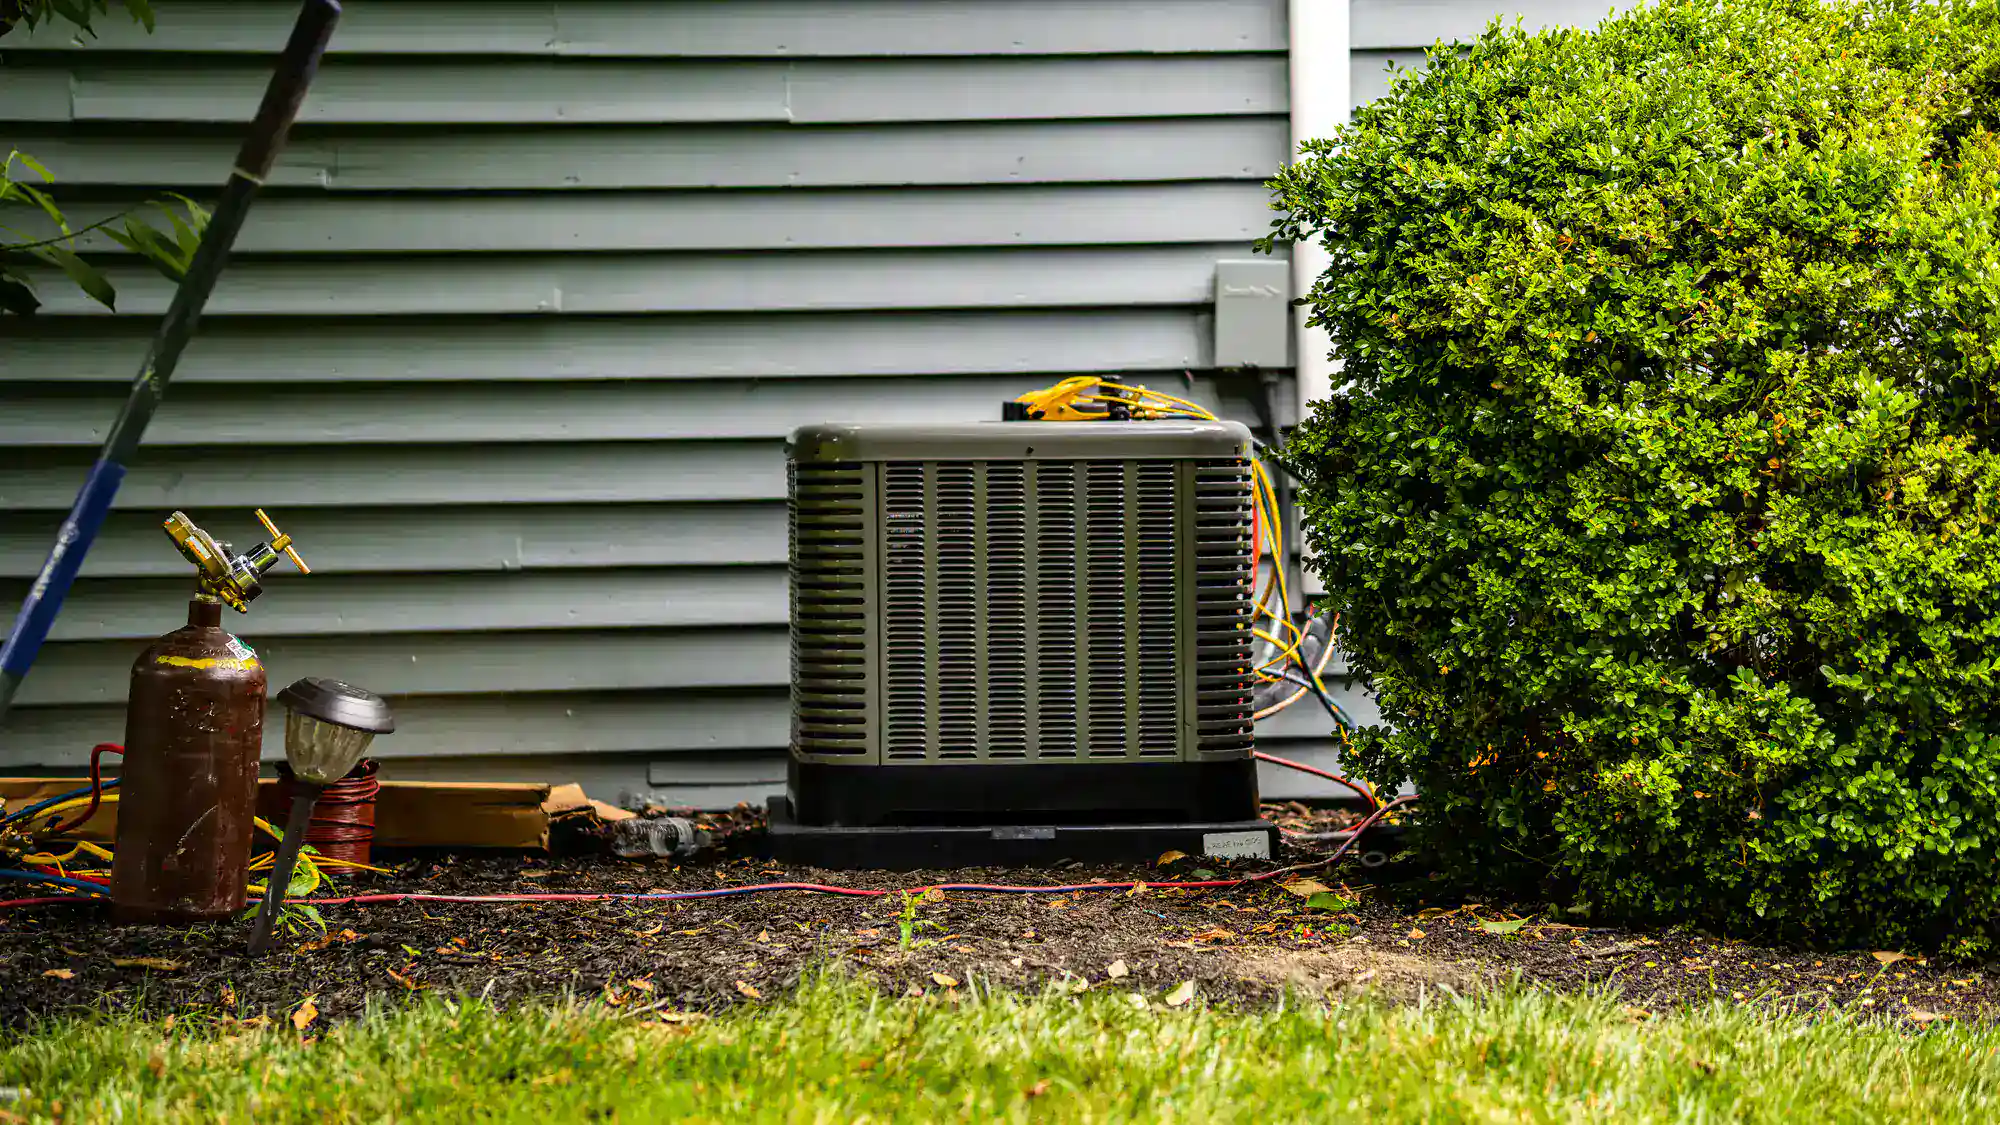
The outdoor condenser unit gets positioned on a level pad with proper clearance for airflow and service access. In Sacramento’s climate, placement matters. The unit should be in a spot that’s not in direct sun all day if possible, away from dryer vents and grills that could blow hot air into it, and positioned so roof runoff won’t pour directly onto it during winter rains.
Inside, the air handler or furnace gets connected to your new system. Refrigerant lines run between the indoor and outdoor units, properly insulated to prevent energy loss. These lines need to be installed with gentle bends, no kinks, and proper protection from UV exposure. Electrical connections get made according to code, with proper wire gauges, weatherproof disconnects, and correct grounding.
Here’s where professional installations separate themselves from mediocre ones: testing and commissioning. Before we consider the job done, we test everything thoroughly. This includes checking refrigerant charge levels, measuring airflow, testing electrical connections, verifying thermostat operation, and making sure the system cycles properly. We measure and document suction and liquid pressures, superheat and subcooling, compressor amperage, and supply and return air temperatures.
Many installers skip or rush through this testing phase because it takes time and expertise. That’s a mistake that shows up later as performance problems, efficiency issues, and premature failures. We insist that your system gets properly commissioned before our crew leaves.
Finally, you get a complete walkthrough. We show you how to operate your new system, explain how to change filters, and provide guidance on maintenance schedules specific to Sacramento’s dusty, demanding climate. You receive all documentation including warranties, system specifications, and permit information.
Sacramento County requires permits for HVAC installations, and there’s a good reason for that. Permits ensure your installation meets safety codes, energy efficiency standards, and building requirements. They protect your investment and your home’s value.
The good news is that for residential heating and cooling installations or replacements, Sacramento County offers electronic permit applications that can be issued automatically once payment is made. We handle this entire process for you. If a contractor suggests skipping the permit to save time or money, find a different contractor. That’s not someone you want working on your home.
Permitted installations must meet California’s Title 24 energy efficiency standards. These standards exist to reduce energy consumption and ensure systems operate efficiently. Depending on your specific installation, you may need HERS (Home Energy Rating System) testing and verification. This involves a certified rater checking that your system meets the required efficiency levels.
The permit process includes inspections. After installation, a building inspector comes out to verify the work was done correctly and meets all applicable codes. This includes checking refrigerant lines, electrical connections, ductwork, and overall system installation. Some homeowners see inspections as a hassle, but they’re actually working in your favor. An independent inspector catching installation errors before they cause problems saves you money and headaches.
Proper permits also protect you if you ever sell your home. Unpermitted work can create issues during home sales, potentially requiring you to bring everything up to code or reducing your home’s value. It can also void manufacturer warranties and homeowner’s insurance coverage if something goes wrong.
We pull permits as a standard part of our service. We’re familiar with the process, we know what documentation is required, and we schedule inspections as part of the project timeline. The permit cost gets included in your total installation price, so there shouldn’t be any surprises.
Companies that do quality work aren’t worried about inspectors checking their installations. We welcome it because we know our work will pass.
Installing a new AC system is a significant investment, especially in Sacramento County where reliable cooling isn’t optional during our brutal summers. The difference between a successful installation and one that causes problems for years comes down to preparation, proper execution, and working with contractors who do the job right.
Start with proper system sizing based on actual load calculations, not guesswork. Make sure your contractor handles permits and follows Sacramento County’s building codes. Prepare your home before installation day so the crew can work efficiently. Insist on complete testing and commissioning before the job is considered finished. These steps protect your investment and ensure your new system delivers the reliable, efficient cooling you’re paying for.
When you’re ready to move forward with AC installation, we bring the expertise and commitment to quality that Sacramento County homeowners deserve. From the initial consultation through final testing and beyond, our focus stays on getting your installation right the first time.
Article details:
Share:
Continue learning: